How to Create a Custom React Hook – a Hands-on Tutorial

[ad_1]
If you have been working with React, I bet you’ve had the opportunity to use hooks. But have you ever tried to create your own hook?
Today I will help you create your first custom hook and explain how they can improve your codebase.
Why Create Custom Hooks?
You might be wondering – why would I even want to create new React hook? In the end, React has all the essential hooks in place and anything else seems slightly excessive. That’s true React comes with many powerful hooks, but did you know that custom hooks can improve the quality of your code?
Imagine you have a piece of React code that’s used across many components. As a programmer, you don’t want to repeat yourself, and you make repeated code reusable as much as possible. That’s why it’s a good idea to wrap those snippets into utilities, components, or custom hooks.
Crafting your own hooks will not only simplify your components, but also significantly reduce the size of your codebase. Remember, less code typically means better readability and lower code complexity, too.
I hope I have you “hooked” now – pun intended.
🛠️ Prerequisites
Before you read this guide, you need to be familiar with React. Don’t get me wrong – you don’t need to be an expert, but some understanding of the basics are necessary.
If you don’t feel like a strong enough React dev, you might consider enrolling in my Udemy course where you will learn React 18 by creating a 2048 game from scratch. You can find more details and a discount code at the end of this tutorial.
Also, you can check out this free tutorial where you’ll learn the key concepts you need to get started with React.
🪝 Your First Custom Hook – usePreviousProps
In my articles, I’m always trying to use real world examples – and this guide will not be any different. We will create a hook responsible for tracking previous values of component props. This means we will build a custom hook called usePreviousProps from scratch.
One of the most common use cases for a hook like this is when you’re dealing with animations. For instance, imagine that you need to highlight a newly created element. How could you determine if it’s new without comparing current values to previous ones? That’s where our new hook comes into play.
The benefits of a custom hook like ours might be a bit vague, but it’s a really powerful tool. Literally, the custom usePreviousProps hook we’ll create today is used in some of my open source projects, and even a few production-grade apps I’ve built. So you can be sure this hook has a real use case, and it only takes 12 lines to implement.
Now let’s get our hands dirty!
🪚 How to Create a Custom Hook
First, we need to create a new file in the hooks directory of your project – I decided to call it use-previous-props.js.
Keep in mind that React hooks rarely use JSX syntax (HTML), which is why we are using the .js extension. If you need to enable JSX syntax need to change the extension to .jsx. But think twice before doing this – if you really need JSX, you should probably crate a standalone component instead of a hook.
// file: hooks/use-previous-props.js

import { useEffect, useRef } from "react";

export default function usePreviousProps(value) {
  const ref = useRef();

  useEffect(() => {
    ref.current = value;
  });

  return ref.current;
}
As you can see, our hook is very similar to a regular functional component. The only difference is the return statement – it returns a JavaScript value instead of an HTML element.
React hooks often return values, functions, or both. For example, the useState hook returns an array with two elements: the current state value and a function to update that value.
Now let me explain how the usePreviousProps hook actually works:
const ref = useRef()is used to persist the reference across re-renders of the component. In our case, we will use it to store the previous value.- The
useEffecthook will updateref.currentvalue whenever the component re-renders. This means that whenvaluechanges, theref.currentvalue will be updated to store the most recent value of the prop. Importantly, all of this happens after the component finishes rendering, so it stores the previous value during the re-render. return ref.currentreturns the value from therefreference.
Now our custom usePreviousProps hook is ready to use!
😎 How to Use a Custom Hook
Last week I published the tutorial How to Create Animations in React 18.
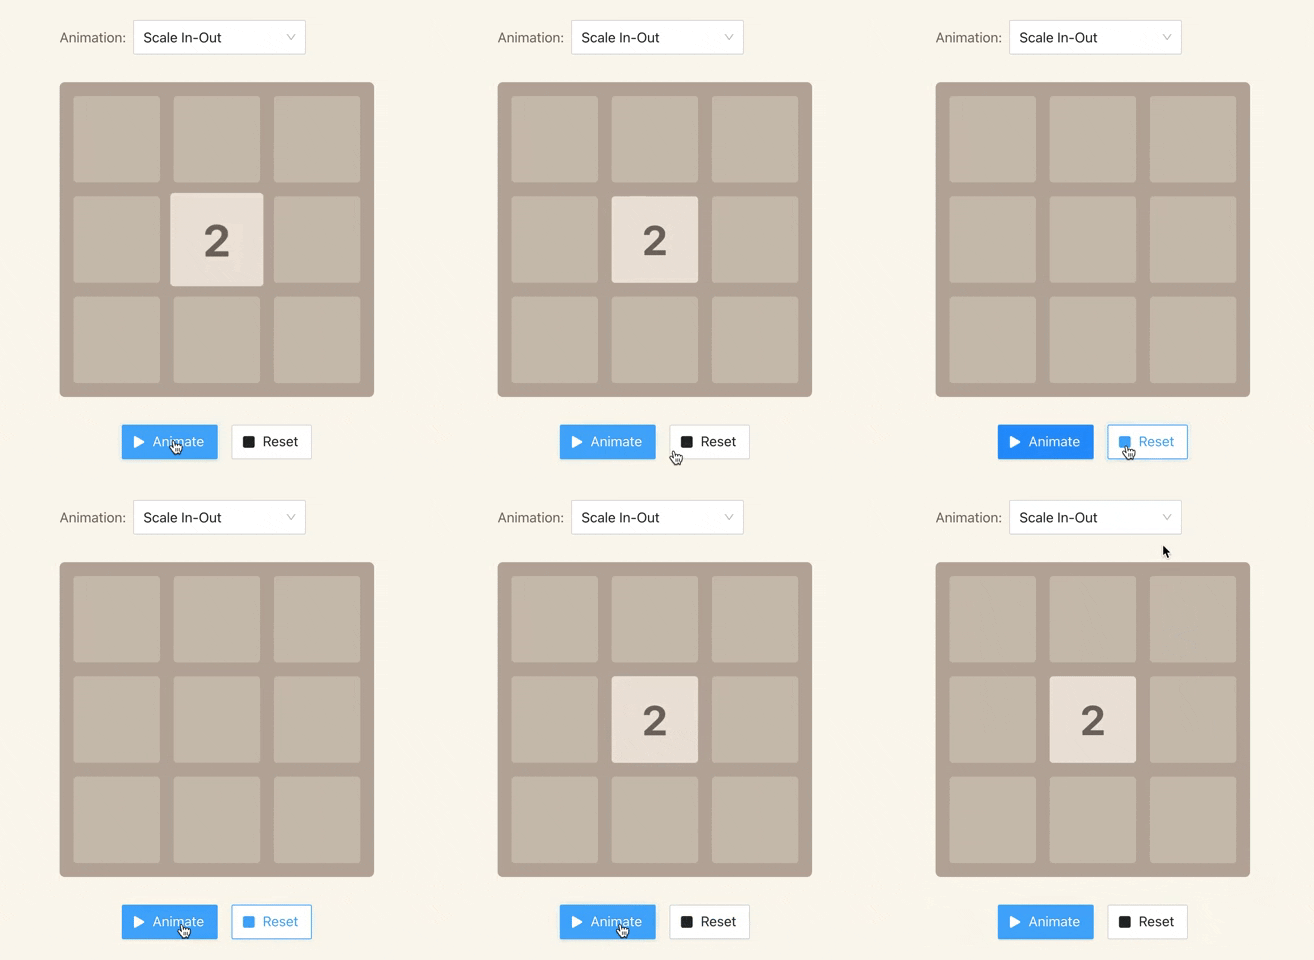
If you didn’t read my last tutorial, it includes the custom usePreviousProps hook to create highlighting animations:

Here is the code responsible for this animation:
export default function Tile({ value }) {
  const [scale, setScale] = useState(1);

  const previousValue = usePreviousProps(value);
  const hasChanged = previousValue !== value;

  useEffect(() => {
    if (hasChanged) {
      setScale(1.1);
      setTimeout(
          () => setScale(1),
          100 /* 100ms == 0.1s */
      );
    }
  }, [hasChanged, setScale]);

  const style = {
    transform: `scale(${scale})`
  };

  return (
    <div className="tile" style={style}>
      {value}
    </div>
  );
};
Let’s focus on this line: const previousValue = usePreviousProps(value).
Here, previousValue contains the previous value for this component. If it’s a new component it returns undefined.
On the next line, the hasChanged constant helps determine if the component should be highlighted. If it’s new and returned undefined earlier, it triggers the highlighting animation.
A few lines later, I declared the useEffect hook that will check if a component has changed its value. If that happened, React will execute the highlighting animation.
🏁 Summary
Today you’ve learned that React hooks are fairly similar to functional components. The only difference is their output, where they return JavaScript values, arrays, or functions rather than JSX elements.
As you can see, creating custom hooks isn’t rocket science, and I hope I’ve inspired you to experiment and create one of your own.
If this article helped you, please share it on your social media or give me a shout-out on Twitter. Thank you!
🏫 Would You Like to Build Your Own 2048 Game?
If you want to improve your React skills, consider joining my online course on Udemy. I will help you to get started with React 18 by building a fully-functional 2048 Game. I believe creating games makes learning more fun, and you’ll have something cool to show your friends.
Also, I’m giving a 50% discount for freeCodeCamp readers. Just use the code 50DISCOUNT to enroll.
👇👇👇👇
🧑🎓 Join my React 18 course on Udemy
What you’ll learn:
- How to build 2048 game with React 18 and Next.js.
- Essential React hooks such as useState, useRef, useCallback, useEffect, and many more.
- Managing state using Reducer and React Context.
- How to create responsive mobile apps that support touch events (like mobile swiping).
- Integrate TypeScript into your React projects.
- Testing React apps.
[ad_2]
Source link
